
Before & After Mastery: How to Capture Thread Results That Sell Themselves
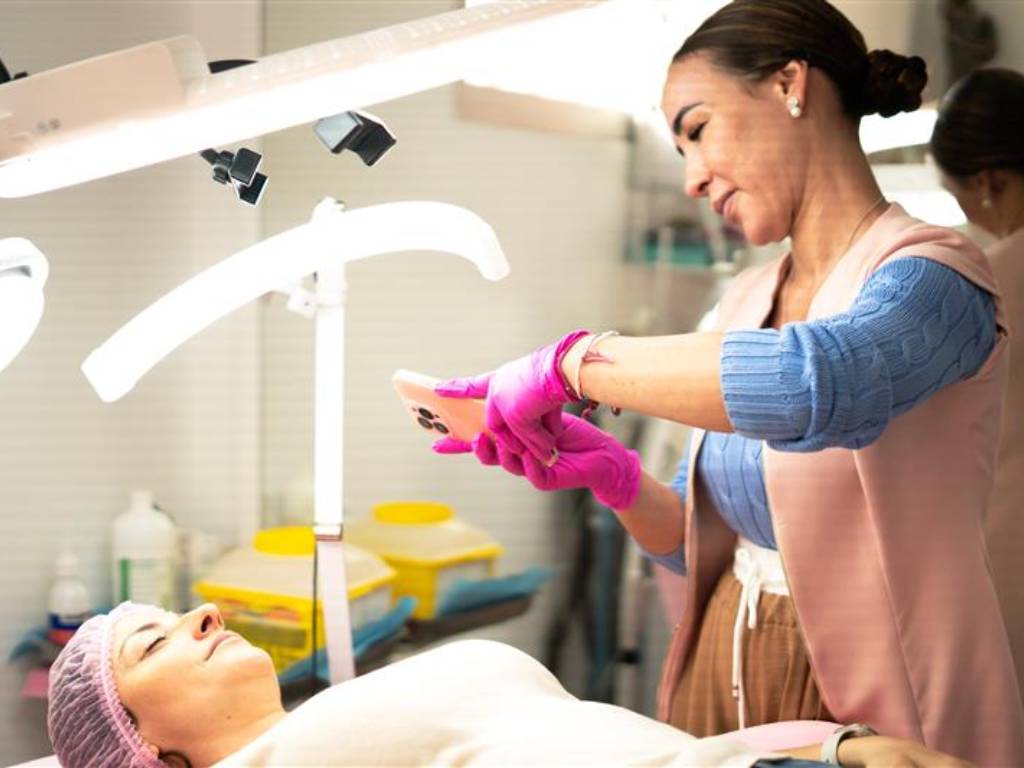
In the aesthetic industry, we live and die by the “Before & After” (B&A).
You can have the most eloquent consultation script, the most beautiful lobby, and the most advanced technology—but if your Instagram grid is full of dark, blurry, or inconsistent photos, you will lose the booking.
This is especially true for PDO Thread Lifts.
Unlike Botox (where the result is just “no wrinkles”) or Lips (where the result is “bigger”), thread results can be subtle to the untrained eye. It’s about vectors, contours, and lighting. A bad photo can make a $$3,000$ lift look like nothing happened. A great photo can make it look like magic.
If you want to sell more threads, you have to stop taking “snapshots” and start documenting “clinical evidence.” Here is how to master the art of the Thread B&A.
1. Standardization is King
The biggest mistake providers make is inconsistency.
- Before Photo: Taken in the hallway, patient smiling, looking down.
- After Photo: Taken in the treatment chair, patient serious, looking up, with ring light blasting.
This isn’t a B&A; it’s a deception. And skeptical patients can smell it a mile away.
The Fix: Create a dedicated “Photo Station.”
- Mark the Floor: Put tape on the floor where the patient stands.
- Mark the Wall: Put a sticker on the wall at eye level so they know where to look.
- Same Light: Use the same lighting setup (preferably a ring light or softbox) at the same intensity every time.
2. The “3/4 Profile” is the Money Shot
For thread lifts, the front-facing photo is often the least impressive. Threads work by repositioning tissue laterally and posteriorly. The drama happens on the jawline and the cheek curve.
The Fix: Always capture the 45-degree angle (3/4 Profile). This angle shows the definition of the jawline separating from the neck. It shows the “Ogee Curve” of the cheek returning. It shows the flattening of the nasolabial fold.
- Pro Tip: Ask the patient to tuck their hair behind their ears for both photos. Nothing ruins a jawline reveal like a stray lock of hair covering the result.
3. Immediate vs. Healed: Managing the Timeline
Threads are unique because they have two “After” reveals.
- Immediate: The “Snatch.” There is often swelling and anesthesia distortion, but the lift is aggressive.
- 2 Weeks Healed: The “Settled.” The swelling is gone, the puckers have smoothed, and the result is natural.
The Strategy: Post both, but label them clearly.
- “Immediately Post-Procedure” posts are great for shock value and showing the lifting capacity.
- “Healed Results” posts are crucial for building trust. They show that the patient didn’t just look good for an hour; they look good for real.
4. Lighting the “Shadows”
In photography, shadows define contour. If you blast a patient with a flash directly in their face, you “flatten” them. You wash out the nasolabial folds and the jowls, making the Before photo look better than it really is (which makes the After look unimpressive).
The Fix: Use overhead or slightly side-angled lighting. You want to see the shadow under the jowl in the Before photo. You want to see the depth of the marionette line. When you take the After photo in the same light, and those shadows disappear? That is the visual proof of the lift.
5. Get the “Look Down” Shot
This is the secret weapon for selling jawline threads. Have the patient look down at their toes (flexing their neck slightly).
- Before: This position exacerbates the “double chin” and skin laxity.
- After: Even in this unflattering position, a good thread lift will keep the skin tight against the neck.
Posting a “Look Down” comparison proves that the threads are working against gravity in the hardest position possible.
6. Video Beats Photo Every Time
Static photos can be accused of Photoshop. Video cannot.
The Strategy: “The Chair Turn.” Film the patient in the chair.
- Start with them facing away.
- Spin the chair slowly to reveal the profile.
- Have them smile and then relax.
Seeing the tissue move naturally and seeing the sharpness of the jawline in motion is the ultimate social proof. It tells the viewer: “This is real. This is 3D. And this could be you.”
Conclusion
Your Before & After photos are your most expensive marketing asset. They are your resume.
Stop treating photography as an afterthought to the procedure. Treat it as part of the procedure. When you master the lighting and the angles, your results will speak for themselves—and your DM inbox will fill up with “I want THIS.